"Why Is My Refrigerator Not Cooling Properly? A Troubleshooting Guide for Common Issues"
1. Refrigerator Not Cooling Properly
Possible Cause
-
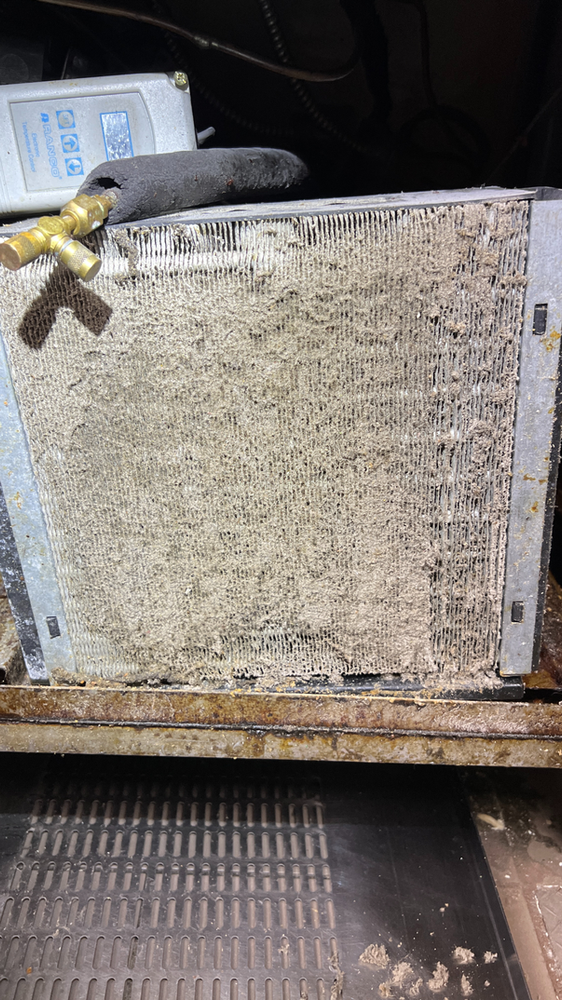
Dirty Condenser Coils: Dust and debris on condenser coils can reduce cooling efficiency.
-
Solution: Clean the condenser coils.
Possible Cause
-
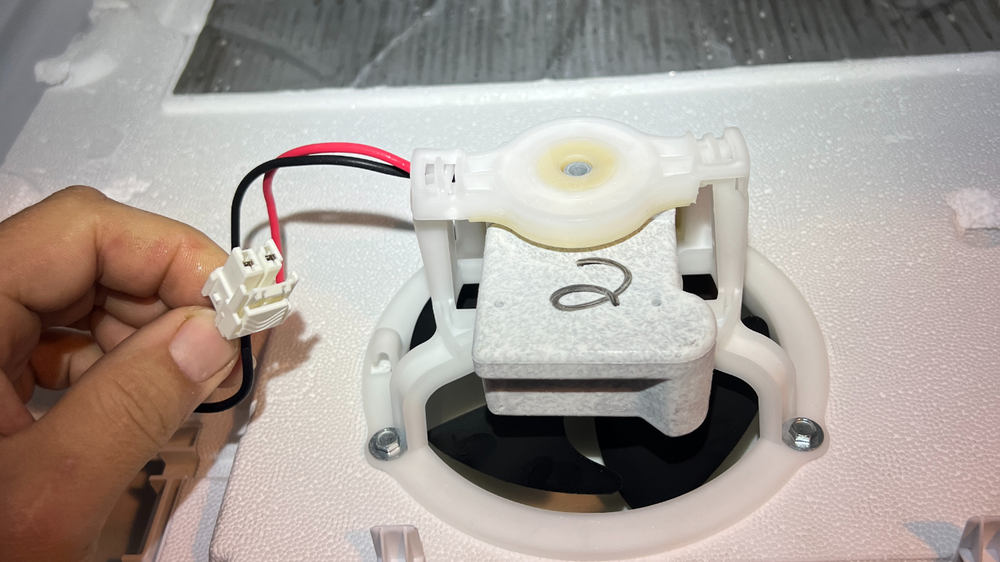
Faulty Evaporator Fan Motor: If the fan isn’t working, air won’t circulate through the fridge.
-
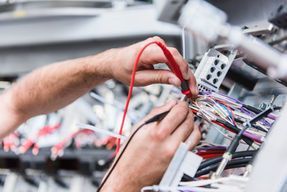
Solution: Test and replace the evaporator fan motor if needed. The exact resistance can vary, but a functional motor usually shows a resistance between 50 to 300 ohms. If the multimeter reads "OL" (open loop), the motor windings are broken. A reading close to 0 ohms indicates a shorted motor.
Possible Cause
-
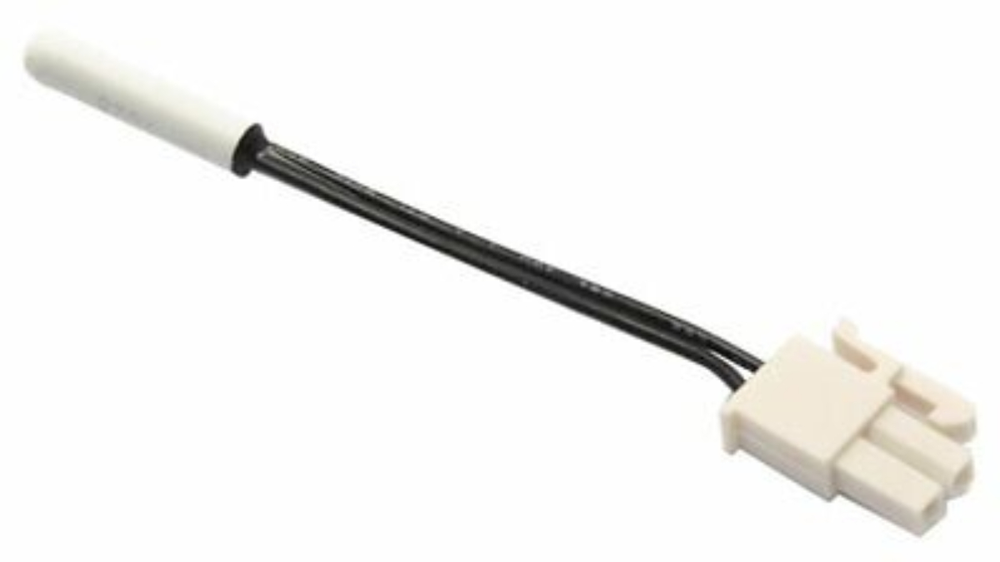
Thermistor Issues: The thermistor monitors the fridge temperature and may need replacement if faulty.
-
Solution: Test the thermistor with a multimeter and replace if defective. At around 77°F (25°C), the thermistor should read close to 10 kΩ. Warm the thermistor slightly with your hand or in warm water. The resistance should decrease below the room temperature reading. If the resistance reading does not change with temperature variation, the thermistor is likely faulty. If the multimeter shows "OL" (open loop), the thermistor is broken and needs replacement. If the reading is very low (close to 0 ohms) and does not change, the thermistor is shorted and needs replacement.
Possible Cause
-
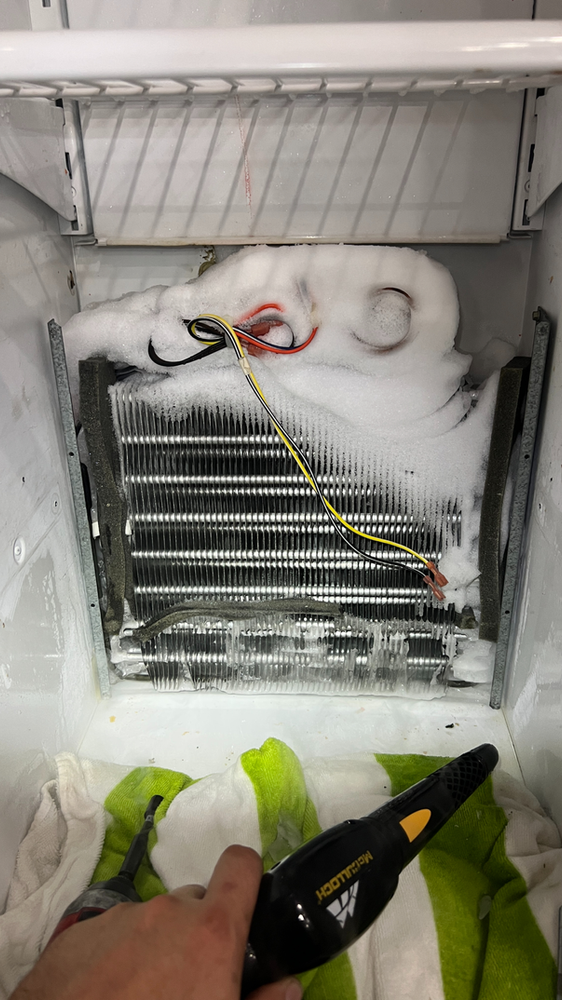
Frozen Evaporator Coil: If the evaporator coil in your refrigerator/freezer has frozen up, it can lead to cooling issues and inefficient operation. A frozen evaporator coil may compromise the evaporator fan motor causing fan inability to circulate cold air through out the unit and also suggest an issue with refrigerator defrost functions.
-
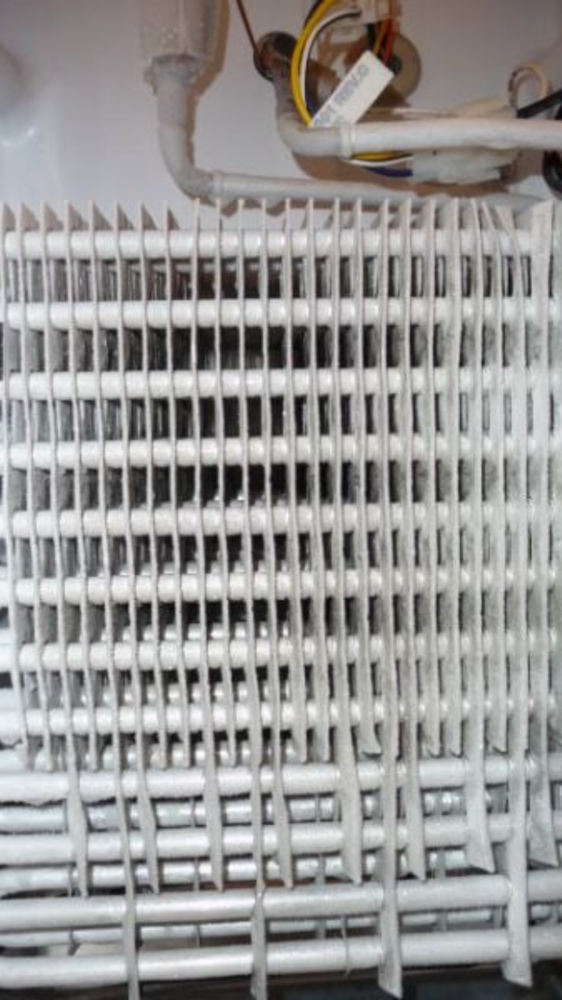
Optimal Evaporator Coil: An efficiently cooling evaporator coil will have a frost pattern similar to picture below.
Access the Evaporator Coil
-
Locate the Coil : The evaporator coil is usually located behind the rear panel inside the fridge or freezer compartment.
-
Remove Shelves and Drawers : Remove any shelves, drawers, or other items blocking access to the rear panel.
-
Remove the Rear Panel : Use a screwdriver to remove the screws holding the panel in place. Carefully pull off the panel to expose the evaporator coil.
-
Defrost the Coil :
-
Natural Defrost : The safest method is to leave the refrigerator unplugged with the doors open, allowing the ice to melt naturally. This can take several hours.
-
Hairdryer Defrost : To speed up the process, you can use a hairdryer on a low heat setting to gently melt the ice. This step is not recommended since there is a high chance of damaging the plastic liner however if you must then keep the hairdryer at a safe distance from the coil to avoid damaging it. Move the hairdryer back and forth to evenly distribute the heat.
-
Steamer Defrost : This is the best method of defrosting the coil. Steamer will not damage or interfere with any components internally and will defrost the coil the fastest. Video below show a small step of steaming process.
Clean the area
-
Once the ice has melted, wipe down the area to remove any residual water.
-
Check the drain hole (if accessible) for clogs and clear them if necessary.
Preventing Future Freeze-Ups
-
Check Door Seals : Ensure the door seals are tight and not allowing warm air to enter.
-
Defrost Timer : Verify that the defrost timer is working correctly. The defrost cycle should activate periodically to melt any frost buildup.
-
Defrost Heater : Make sure the defrost heater is functioning. It should heat up during the defrost cycle to melt any ice on the coils.
-
Thermostat : Ensure the thermostat is set to the correct temperature. If it’s set too low, it can cause excessive frost buildup.
-
Keep Vents Clear : Make sure the air vents inside the fridge and freezer are not blocked by food items, allowing for proper air circulation. If you continue to experience issues with the evaporator coil freezing up, it might be a sign of a malfunctioning component such as the defrost timer, heater, or thermostat, and it may require professional inspection and repair.
